REVIEW · MAUI
Haleakala Sunrise Best Self-Guided Bike Tour
Book on Viator →Operated by Bike Maui AND Haleakala EcoTours · Bookable on Viator
A sunrise on Haleakala hits different. This tour turns that early-morning moment into an action plan: watch dawn from the summit area, then start your ride and chase the famous Fabulous 29 switchbacks on a provided bike.
I also like that the hard part (getting you up there) is handled for you, with an air-conditioned van ride plus summit-ready gear included. One real consideration: the day runs long, and you may spend more time in shuttles than you expect, with parts of the route not always allowing continuous biking.
In This Review
- Key points before you go
- Haleakala Sunrise + a Self-Guided Bike: why this combo works
- The morning schedule, in plain English
- Getting your bike and handling the summit cold
- Start at 6,500 ft: what self-guided really means
- The famous switchbacks: Fabulous 29 in real life
- Inside Haleakala National Park: crater stop and visitor center
- Upcountry Maui after the descent: Makawao town time
- No-host breakfast in Makawao or Haiku: plan money, not just time
- What to pack (and what you can probably leave at home)
- Price and value: what you’re paying for
- Guides and that early-morning energy
- Who this tour fits best (and who should rethink it)
- Timing reality check: why some riders feel “more shuttle than bike”
- Should you book this Haleakala Sunrise Best Self-Guided Bike Tour?
- FAQ
- How long is the Haleakala Sunrise Best Self-Guided Bike Tour?
- Where do I meet, and where does the tour end?
- What bike distance do I ride downhill?
- What is included in the price?
- Do I need biking experience?
- Is the sunrise day dependent on weather?
Key points before you go
- Self-paced downhill from 6,500 ft: ride your own speed, not a tight group cadence.
- Provided Kona bike + full cold-weather kit: windbreaker suit, gloves, helmet, and a backpack.
- Two park stops before the ride: crater and a visitor-center style stop for context and photos.
- Makawao and Upcountry Maui time: you get a change of scenery after the volcano descent.
- Plan for long van/shuttle time: early start plus route realities can cut into biking time.
Haleakala Sunrise + a Self-Guided Bike: why this combo works
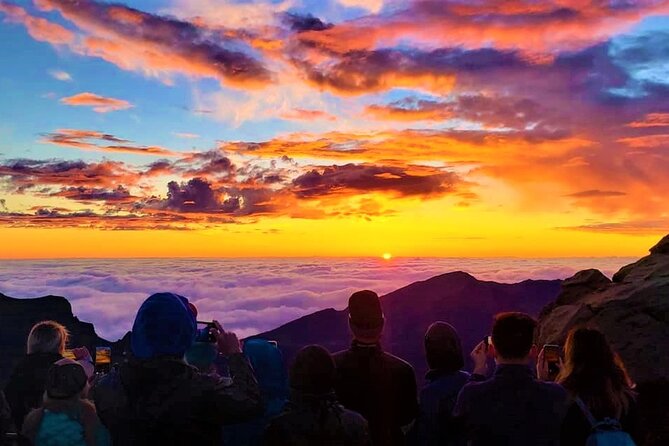
If you’ve ever wondered what it feels like to watch the sun climb out of a volcano rim, Haleakala is one of the few places that delivers a true “wow” on command. This experience layers that spectacle with movement. Instead of just standing around after sunrise, you get on a bike and turn the morning into a downhill adventure.
I like how the tour is designed around your rhythm. You ride the big downhill section on your own pace, which matters on a steep, twisty road where some riders want to go fast and others want to take photos every few turns.
The other reason this tour clicks is the gear. Haleakala’s summit area can be brutally cold and windy, even when Maui’s beaches are warm. You’re not left guessing. You get windbreaker top and bottom, gloves, and other essentials—so you can focus on staying warm without hauling a suitcase of clothing.
You can also read our reviews of more cycling tours in Maui
The morning schedule, in plain English
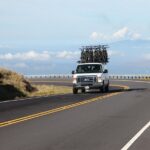
This is an early start day. You meet at 810 Haiku Rd, Haiku, HI 96708, then you head uphill in an air-conditioned vehicle. The drive is part of the experience because it gets you to the summit area while you’re still fresh and before the light changes too much.
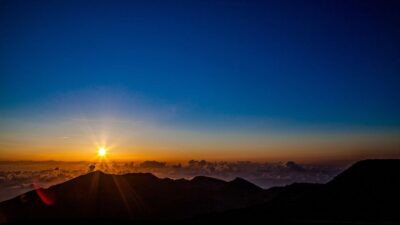
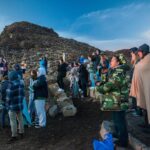
Once you reach the top, you’ll watch sunrise from the high volcanic area. After that, the day continues with two stops within Haleakala National Park—one at the crater area and another at a visitor center. Think of these as your photo-and-context breaks before the main ride.
Then you shift into the bike portion: you begin at about 6,500 ft, just outside the National Park entrance, and start the downhill while you control your speed. At some point after the bike segment, you meet a shuttle that takes you onward through Upcountry Maui, ending with riding through Makawao and back toward Haiku.
Total time is listed at about 7 hours, but plan on a range. Between shuttle transfers and route stops, the day can feel longer than the headline duration.
Getting your bike and handling the summit cold
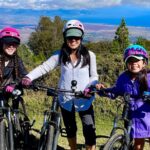
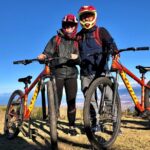
The included bike setup is a big part of the value. You’ll get a custom Kona Mountain Bike, plus a bell helmet and a Da Kine backpack. The company also provides a Helly Hansen windbreaker suit (top and bottom) and gloves.
Why I think that matters: on Haleakala, layers are not optional. Even if you’re a warm-weather person, you’ll likely want something windproof and a real way to stash extra layers while you ride downhill.
From what people describe after doing this, the summit cold is the main thing that surprises first-timers. So I’d treat the windbreaker kit as the baseline, not a maybe. If you run cold, bring more layers in your own bag too, and expect you’ll shed them as you warm up during the descent.
Start at 6,500 ft: what self-guided really means
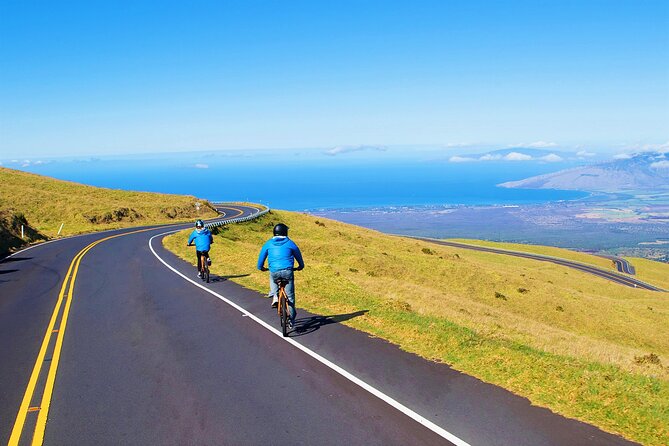
The tour is self-guided for the key downhill section. You begin at the 6,500-ft level just outside the park entrance, then you ride down approximately 15 miles.
You’ll hear plenty of safety and ride instructions, but the big payoff is that you’re not moving as part of a slow convoy. That means:
- You can pause for photos without asking permission.
- You can ride faster if you’re confident and careful.
- You can go slower if you’re learning the road.
A “self-guided” bike day also means you’re the one responsible for staying aware. The road is tight and twisty, and it’s easy to get a little tense if you push too hard or if you stop abruptly for pictures. If you’re not comfortable controlling your speed on downhill turns, this is still doable for many riders, but you should take the instructions seriously and treat the ride like a skill practice, not a race.
The famous switchbacks: Fabulous 29 in real life
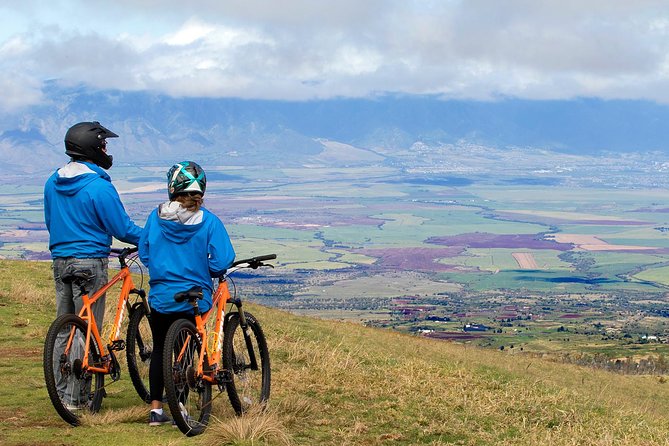
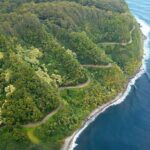
The star of this bike tour is the downhill and, specifically, the Fabulous 29 switchbacks. This is the set of winding turns that people talk about because it’s scenic and because it tests your bike control just enough to feel thrilling without being chaotic.
Here’s what you should know before you decide:
- You’ll feel the height early. Even if you’re warm by the time you start, the air and the wind can change.
- You’ll want a calm, steady approach through the turns. Quick braking and jerky steering can be tiring.
- If weather turns rainy lower down, it can get slippery and less fun—so your tires and brakes matter, and so does your willingness to slow down.
The good news is that the tour provides bikes and safety gear, and the downhill is designed as a ride you can manage at many skill levels if you pay attention.
You can also read our reviews of more guided tours in Maui
Inside Haleakala National Park: crater stop and visitor center
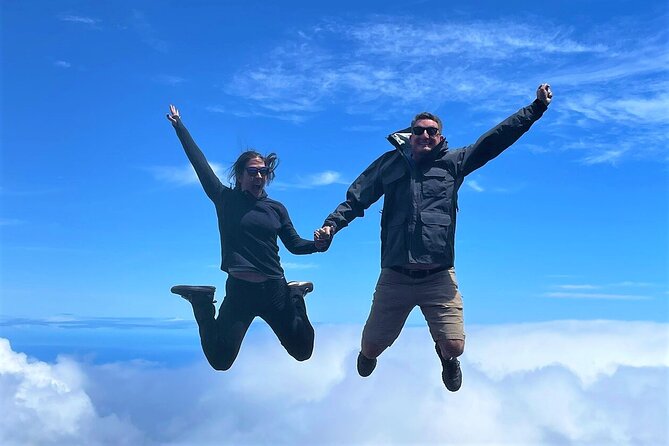
Before the bike really begins, the day includes two stops within Haleakala National Park.
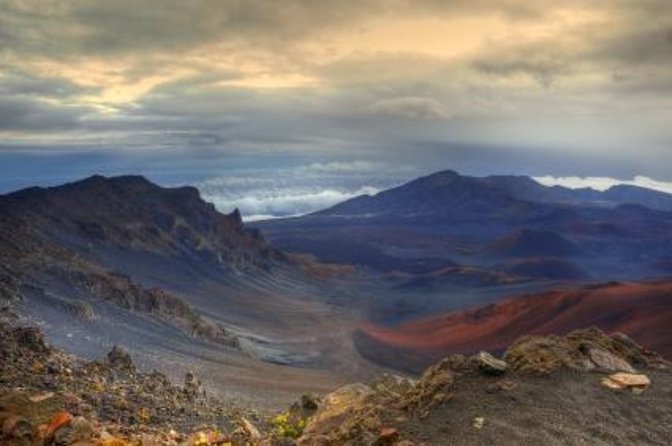
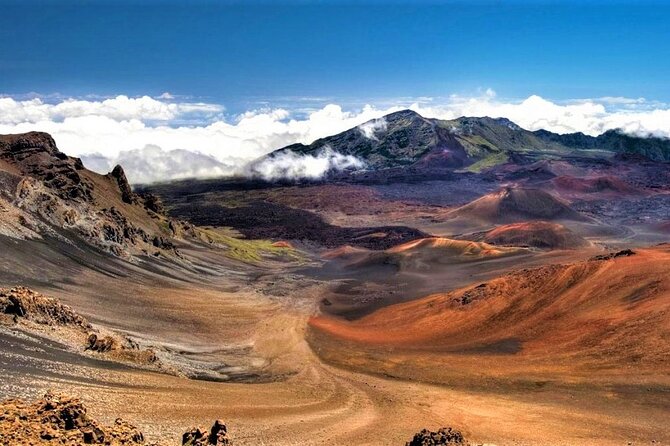
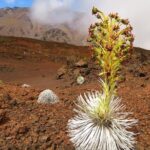
Stop 1 is at Haleakala Crater, where the goal is sunrise-viewing, plus the chance to walk around and soak in the volcanic setting from the rim area. This is where you get your best chance at that layered “daybreak” light effect people love.
Stop 2 is another park stop at a visitor center. This is where you’ll get more context on what you’re actually seeing—how the landscape formed, what the volcano status means, and how the park works. Even if you’re not a science person, a little context can make the photos feel less like random snapshots.
Upcountry Maui after the descent: Makawao town time
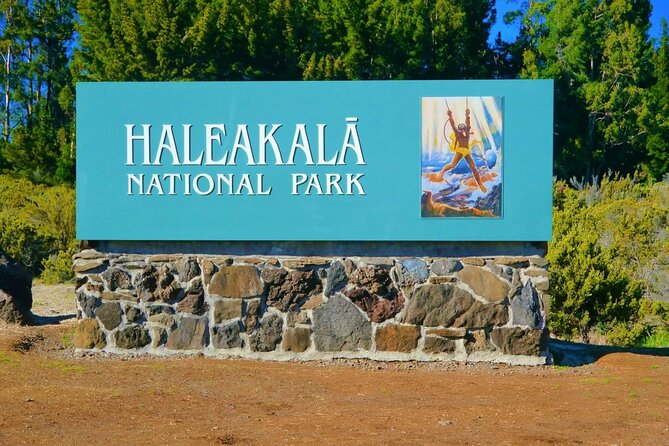
Once the downhill segment ends, you meet the shuttle and head through Upcountry Maui toward a location just above Makawao Town. Then you get back on the bikes for a town ride.
This part is a nice contrast. After the steep, dramatic volcano road, Makawao feels more like Maui-as-Maui—local streets, ranch-town energy, and a chance to take a breath.
A key detail for planning: depending on route rules, you might not be able to ride continuously through every section. Some riders end up bused through parts where biking is restricted, then rejoin the ride on the next allowed segment. If you’re expecting one long, uninterrupted downhill-to-town ride, adjust your mindset. Your goal becomes: enjoy what you can ride, stay safe, and use shuttle time to reset.
No-host breakfast in Makawao or Haiku: plan money, not just time
Breakfast is not included, but you do get time for it. The tour offers no-host breakfast in either Makawao or Haiku. Bring credit cards or cash.
I’d treat breakfast as part of the recovery plan. After a cold summit and a long downhill, you’ll likely feel hungry and a little wiped out—so choose something you can eat easily and move on.
If you’re trying to decide where to eat, aim for a place that’s close to the ride flow. The day schedule is tight, and you don’t want to waste the last stretch waiting for a table or walking far away.
What to pack (and what you can probably leave at home)
You don’t need to overpack, but you do need to be ready for temperature swings.
Bring:
- Warm layers for the summit, even if the tour provides windbreakers (you’ll likely add on top of what’s included).
- A water bottle and snacks. Water and snacks aren’t included.
- Comfortable clothes for the ride and something you don’t mind getting a little dusty.
Leave most bulky items at home. The included backpack helps you manage layers, but the morning starts early and you’ll want to keep your carry simple.
Also, if you get motion sick, note that there can be lots of riding in vehicles early and during the transitions. That doesn’t automatically mean you’ll feel sick, but it’s a fair consideration for the road up and down.
Price and value: what you’re paying for
At $272.58 per person, this isn’t a budget activity. But it can be good value once you break down what’s handled for you.
You’re not just renting a bike. The price includes:
- Air-conditioned vehicle
- Entrance to Haleakala National Park
- Custom Kona bike, helmet, gloves
- Windbreaker suit (top and bottom) and backpack
- All fees and taxes
Where the cost starts to feel less “all-in” is what isn’t included: water, snacks, breakfast, and gratuity.
So, is it worth it? For most people who want sunrise plus a serious downhill experience without logistics headaches, yes—especially because the gear and transport are doing real work. If you’re the type who wants full control, you might be able to DIY part of the day, but you’d still face the same core problems: timing, weather swings, and knowing where you can safely ride.
Guides and that early-morning energy
This tour runs on early-morning momentum. People often mention the guiding style as a key ingredient—especially in the pre-sunrise waiting time.
You may ride with guides such as Eddie Buddy, Dan, Corey, Russell, Don, or Larry. The common theme is energy and Maui-area context. That matters at 2–3 a.m.-ish hours, when your brain is not fully online and you need someone to keep the whole process moving.
If humor helps you stay awake, you’re in luck. If you prefer a quiet experience, ask for the ride instructions and keep an eye on your own pace and comfort. Either way, the safety talk and ride guidance are the non-negotiables.
Who this tour fits best (and who should rethink it)
This is best for:
- Riders with recent biking experience
- People with moderate physical fitness
- Anyone who wants to pair a once-in-a-lifetime sunrise with a hands-on activity
The tour also has a minimum age of 15 and a minimum height of 4’10”, so it’s not a “take the whole family no matter what” plan.
Consider skipping or choosing something easier if:
- You’re unsure of downhill control. Tight roads + switchbacks demand good braking and calm steering.
- You’re very short on time. Even with a 7-hour listing, the day can run longer because of stops and shuttle transitions.
- You hate cold. Even with gear, the summit period can feel rough.
Timing reality check: why some riders feel “more shuttle than bike”
A theme I think is important: even though the main bike section is a meaningful chunk of time, the day includes long transfers and stops. The tour structure has you in vehicles, then on a bike, then in a vehicle again.
If you measure your day by bike minutes only, you might feel disappointed. If you measure your day by total experience—sunrise, park stops, switchbacks, and Makawao—you’ll likely feel it’s a well-built half-day adventure.
Should you book this Haleakala Sunrise Best Self-Guided Bike Tour?
I’d book it if you want the Haleakala sunrise and you’re excited about riding the switchbacks with a provided bike and real cold-weather gear. The self-guided part is a major plus because it gives you control, and the Makawao add-on makes the day feel more than just an out-and-back.
I wouldn’t book it if you’re expecting a continuous, all-biking day with minimal waiting. Be honest about how you handle early mornings, vehicle time, cold wind at the top, and tight downhill roads.
If you want to maximize value, plan your day around this as the anchor activity. That’s when it feels most worth the price.
FAQ
How long is the Haleakala Sunrise Best Self-Guided Bike Tour?
The tour is listed at about 7 hours.
Where do I meet, and where does the tour end?
You meet at 810 Haiku Rd, Haiku, HI 96708. The activity ends back at the meeting point.
What bike distance do I ride downhill?
The downhill portion is about 15 miles, starting from around the 6,500-ft level.
What is included in the price?
The tour includes an air-conditioned vehicle, Haleakala National Park entrance, a custom Kona mountain bike, helmet, gloves, a Helly Hansen windbreaker suit (top and bottom), and a Da Kine backpack. It also includes fees and taxes.
Do I need biking experience?
Yes. Recent biking experience is required, and the tour expects at least moderate physical fitness.
Is the sunrise day dependent on weather?
Yes. The experience requires good weather, and if it’s canceled due to poor weather you’ll be offered a different date or a full refund.